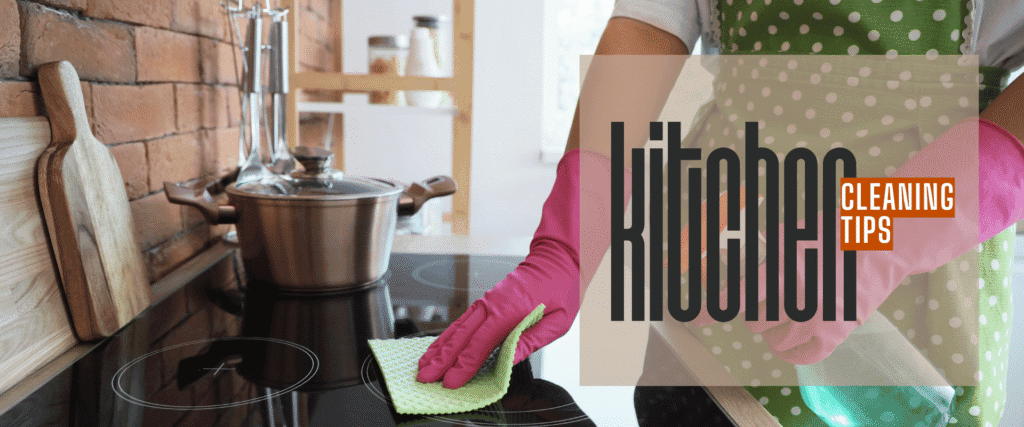
Cleaning Tips for Real-Life Kitchens
If there’s one thing I’ve learned from years of trying to keep a kitchen looking clean—especially in a busy household—it’s this: sometimes the simplest cleaning hacks are the ones that save your entire week. Not the fancy ones that require five ingredients and a degree in chemistry. The real ones that make everyday messes easier and leave your kitchen feeling like a space you can breathe in again.
And I’ll be honest—my kitchen used to overwhelm me. I’d clean constantly, only to turn around and see another spill, another burnt pan, another sticky stovetop, another pile of dishes taunting me from across the room. I’d scroll Pinterest and see those picture-perfect, spotless kitchens and wonder, who lives like this?
Definitely not me.
Life moves fast in a busy home. People are in and out of the kitchen all day. Breakfast happens, lunch happens, snacks happen, dinner happens—and somehow the kitchen ends up looking like it lived through a full workday of its own. There were days when I felt like I was doing dishes around the clock.
But over time, I learned something important: the goal isn’t perfection.
The goal is ease.
Small routines. Simple habits. A few reliable tricks that make your kitchen work with you instead of against you.
These are the cleaning hacks that actually helped me—the ones I use weekly (and some daily), the ones that brought sanity back into my kitchen, and the ones that truly changed how I feel about my space. They’re straightforward, affordable, and doable no matter what your kitchen looks like or how chaotic your days feel.
Grab a coffee and settle in—because these tips aren’t just “wipe here, spray that.”
We’re going deeper.
1. Lemon and Salt for Wooden Cutting Boards

(Why This Simple Step Does More for Your Kitchen Than You Think)
The first time I tried this hack, it wasn’t because I wanted a clean cutting board—it was because mine looked beyond help. Knife marks everywhere, dark juice stains that soap couldn’t remove, and a lingering onion smell I was convinced had become part of the wood’s personality. I used to hide it when guests came over.
One Sunday, during a frantic attempt to get ahead of the week, I sprinkled coarse salt over the board, cut a lemon in half, and scrubbed. I expected the same old results. Instead, the stains lifted. The smell disappeared. The wood looked refreshed, almost moisturized.
What surprised me most wasn’t just how the board looked, but how the whole kitchen felt different afterward. The combination of fresh lemon and warm wood made the space smell cleaner, brighter, and lighter. It was such a small task, but it shifted the mood of the room.
I also realized that wooden boards absorb more than they show. Even when they look clean on the surface, they hold onto odors and bacteria in tiny grooves and cuts. This method doesn’t just freshen the top layer—it reaches into those grooves in a way regular soap and water can’t.
How to do it
- Sprinkle coarse salt generously across the surface of the cutting board.
- Cut a lemon in half.
- Use the cut side of the lemon to scrub the board in circles, pressing gently to release the juice.
- Let the mixture sit for a few minutes.
- Rinse with warm water and dry thoroughly with a towel.
Why it works
- Salt acts as a gentle abrasive, lifting stains and residue.
- Lemon juice has natural antibacterial properties and neutralizes odors.
- The combination deep-cleans without harsh chemicals or soaking the wood.
Extra tips and variations
- For stubborn garlic or onion smells, let the dry salt sit on the board for about 10 minutes before scrubbing with lemon.
- If the board looks dry afterward, rub a small amount of food-safe mineral oil into the surface to prevent cracking.
- This method works beautifully on wooden spoons and utensils as well—just use a lighter touch.
Cleaning the board this way became more than just a chore. It turned into part of my weekend reset—a small, satisfying task that makes the entire kitchen feel fresher and more cared for.
2. Microwave Steam Clean
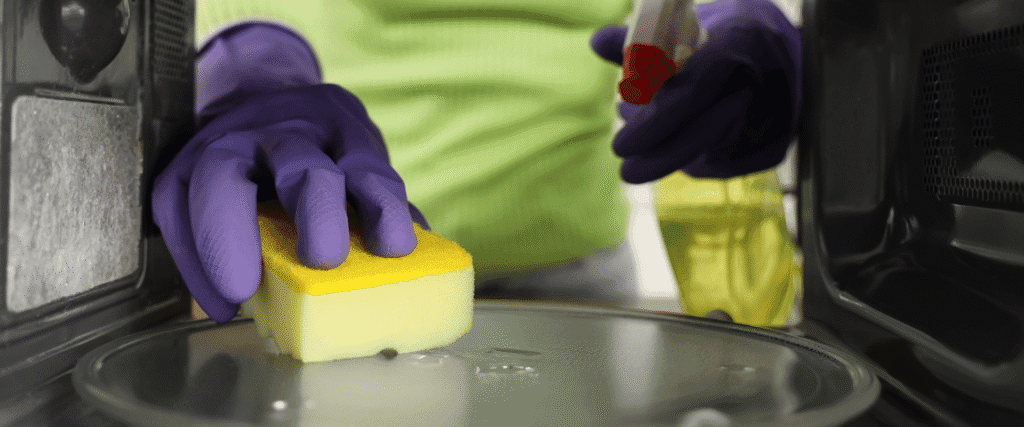
(The Three-Minute Fix for Days You Don’t Have Time)
There is nothing more discouraging than opening the microwave and realizing it looks like something exploded inside it days ago. Dried sauce on the ceiling. Splattered soup on the walls. A mystery crumb stuck in the back corner. And usually, it shows up when you’re already tired.
What no one tells you is that microwaves don’t get dirty evenly. Heat pockets and hot spots cause one side to splatter while the other stays clean, so messes build up in layers. Scrubbing this by hand can feel never-ending.
The steam-clean trick is the complete opposite of that feeling. It makes the microwave almost clean itself.
How to do it
- Fill a microwave-safe bowl with water.
- Add a few lemon slices or a splash of white vinegar.
- Microwave on high for 3 minutes.
- Keep the door closed for 1 additional minute to let the steam sit.
- Carefully remove the bowl, then wipe all interior surfaces with a cloth or paper towel.
Why it works
- Steam loosens dried-on food and softens hardened splatters.
- Lemon or vinegar helps cut through grease and neutralize odors.
- The heat helps break down stuck-on residue in corners and along edges.
Extra tips
- For especially stubborn messes, repeat the process twice—it’s still easier than scrubbing.
- Lemon peel releases natural oils that help lift grime even more effectively.
- If someone burned popcorn (we’ve all been there), add a teaspoon of baking soda to the water to help with lingering odor.
This is one of those hacks you can run while doing something else—brewing coffee, unloading the dishwasher, or packing lunches. In five minutes, the microwave goes from dreaded task to quick win.
3. Baking Soda Paste for Stovetops
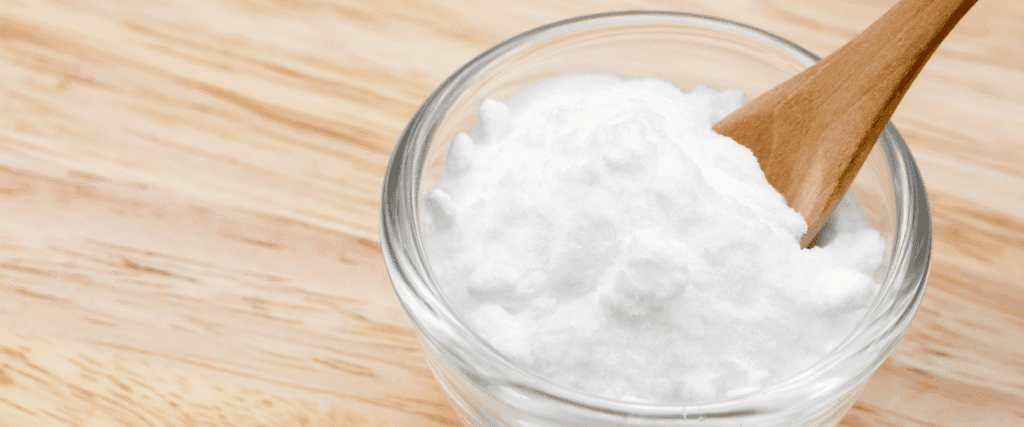
(Your Best Defense Against Daily Cooking Chaos)
The stovetop tells the truth about your week. One glance and you can see the boiled-over pasta water, the sauce that splattered, the oil that popped out of a pan when someone turned the heat too high. It’s the part of the kitchen that collects every little moment when life is busy and eyes are elsewhere.
There have been nights when I finally sat down after dinner, looked back at the stove, and felt defeated just seeing the mess waiting for me.
The baking soda paste is the only thing that has consistently made stovetop cleaning feel manageable instead of exhausting.
How to do it
- In a small bowl, mix baking soda with just enough water to form a thick paste.
- Spread the paste over greasy, burnt, or stained areas of the stovetop.
- Let it sit for 10–15 minutes.
- Wipe away gently with a damp cloth and warm water.
Why it works
- Baking soda is mildly abrasive, so it lifts stuck-on food without scratching most surfaces.
- It’s alkaline, which means it helps break down acidic stains and grease.
- Letting it sit gives it time to loosen grime so you don’t have to scrub as hard.
Extra tips and variations
- Add a drop or two of dish soap to the paste for extra degreasing power.
- For gas stovetops, remove the burner grates and caps and use the paste on those as well. Rinse and dry thoroughly before reassembling.
- For glass stovetops, use very gentle circular motions and a soft cloth—no heavy scrubbing. Wipe clean and then buff with a dry microfiber cloth for a streak-free finish.
- For really tough spots, apply the paste and cover it with a damp paper towel while it sits to keep it from drying out.
This method is especially helpful after nights when dinner gets away from you and cleanup feels like a second shift. It turns “I don’t even know where to start” into “That wasn’t so bad.”
4. Vinegar and Water for Stainless Steel

(The Low-Effort Trick That Makes Your Kitchen Look Instantly Cleaner)
Stainless steel appliances are beautiful—until real life happens. One day of hands, fingerprints, and opened-and-closed doors, and suddenly everything looks cloudy and smudged. For a while, I kept buying stainless steel cleaners, hoping something would magically erase the streaks and marks.
Ironically, the best solution turned out to be the simplest one sitting in my pantry: vinegar and water.
How to do it
- Mix equal parts distilled white vinegar and water in a spray bottle.
- Spray the solution onto a microfiber cloth (not directly onto the appliance if there are electronic panels nearby).
- Wipe the stainless steel surface in long strokes, following the grain of the metal.
- Buff with a dry section of the cloth if needed.
Why it works
- Vinegar breaks down grease, oils, and fingerprints quickly.
- It evaporates cleanly, which helps prevent streaks.
- Microfiber is designed to grab dirt and residue instead of pushing it around, which keeps the finish smooth and even.
Extra tips
- Always read your appliance manual first—most stainless steel is fine with vinegar, but if you have a special coating, double-check.
- Work in small sections so the solution doesn’t dry before you wipe.
- For extra shine, go over everything once more with a dry microfiber cloth after it’s clean.
I love this method because it takes seconds but makes such a big difference. Even if the rest of the kitchen isn’t done yet, clean appliances make the whole room feel more pulled together.
5. Dish Soap Soak for Burnt Pans

(The Overnight Hack That Saves You Time and Sanity)
Burnt pans used to feel like a personal failure. One distraction—one phone call, one kid asking a question, one minute of walking into another room—and suddenly dinner had welded itself to the bottom of the pan.
I’d stand at the sink, scrubbing until my hands were sore, watching little flecks of nonstick coating or enamel come loose, and wondering if I had just ruined another piece of cookware.
Then I learned the dish soap soak, and I haven’t looked back.
How to do it
- Fill the pan with warm water right after it cools enough to handle.
- Add a generous squeeze of dish soap and swish it around.
- Leave the pan to soak for several hours, or overnight for really burnt messes.
- In the morning, use a sponge or brush to gently lift away the residue—it should come off easily.
Why it works
- Dish soap is designed to break down fats and oils, the main components of burnt-on food.
- Warm water helps loosen the bond between the residue and the pan’s surface.
- Time does the work, so you don’t have to.
Extra tips
- For really tough burns, bring the soapy water in the pan to a gentle boil for a few minutes, then turn off the heat and let it sit as it cools. The stuck-on layer will release more easily.
- For cast iron, use this method carefully and avoid long soaks—scrub, dry completely, and re-season with oil afterward.
- For enamel or stainless steel, this method is especially gentle and prevents scratching that harsher scrubbing can cause.
This hack has saved pans I was convinced were ruined. It turns “I can’t deal with this tonight” into “I’ll let it sit and it’ll be fine tomorrow,” which is sometimes exactly what you need.
Bonus Kitchen Hacks

(Little Habits That Make a Big Difference)
These extra tricks don’t need full sections, but they’re worth keeping in your back pocket. They’re small, simple habits that keep your kitchen feeling fresher day to day.
6. The One-Minute Crumb Sweep
Crumbs have a way of appearing everywhere—under cutting boards, along the edge of the counter, around the toaster. Instead of letting them build up, take 30–60 seconds after each prep session to sweep them into your hand or into the sink. It keeps surfaces looking instantly cleaner and makes deep cleaning days easier.
7. Dishwasher Filter Deep Clean
Most dishwashers have a removable filter at the bottom. If dishes are coming out cloudy or the dishwasher smells off, that filter might be the reason. Take it out, rinse it under hot water, and scrub gently with dish soap and a brush. Doing this every few weeks keeps the dishwasher running better and your dishes cleaner.
8. Sink Shine Trick
The sink sees everything, and it shows. Sprinkle baking soda in the basin and scrub gently with a damp sponge. Rinse with hot water, then finish with a splash of vinegar. It cuts through residue, lifts stains, and leaves the sink sparkling. It also helps eliminate any lingering smells from food scraps.
9. Towel Refresh
Kitchen towels pick up more than we think—grease, moisture, food, and odors that regular washing sometimes doesn’t fully remove. Every so often, soak them in hot water with a cup of white vinegar for about 15 minutes before putting them through a normal wash cycle. It strips away buildup and leaves them smelling clean again.
Why These Hacks Work

What I love most about these methods is that they don’t ask you to become someone else or completely change your life. They’re not about flawless kitchens or endless scrubbing sessions. They’re about realistic cleaning that fits into real days.
They use ingredients you already have.
They take minutes, not hours.
They give you visible results without a ton of effort.
The goal isn’t a perfect kitchen where no one ever leaves a crumb. The goal is an easier kitchen—a space that feels calmer, cleaner, and more manageable, even when life is busy and a little chaotic.
Small habits, used consistently, change everything.
Looking for More Ways to Make Your Week Easier?
If you want to simplify cooking and feel more in control of your evenings, this post will help:
Easy Weeknight Cooking Starts With These Pantry Essentials
https://www.featuredbite.com/easy-weeknight-cooking-pantry-essentials/
Looking for something new to make? Start here.

These are the kitchen essentials I use regularly and highly recommend.
Premium Heat-Resistant Ground Beef Smasher
Multi-Purpose Stainless Steel Scraper/Chopper
KitchenAid Ribbed Soft Silicone Oven Mitt 2-Pack Set
The Original Pro Chopper – Vegetable Chopper and Spiralizer
Silicone Baking Mat (3-Pack), Reusable Non-Stick
If you’re looking for more ways to make your kitchen feel easier and your week run smoother, there’s one more resource I think you’ll find helpful. It’s all about the pantry basics that make everyday cooking faster, simpler, and far less stressful.
You can read it here: Easy Weeknight Cooking Starts With These Pantry Essentials
https://www.featuredbite.com/wp-admin/post.php?post=5893&action=edit#/